Showing posts with label tutorial. Show all posts

Wednesday, February 6, 2013

dandelions *tutorial*


I have been making these sweet little dandelions for several years, including making many, many of them for my wedding decorations. They are super easy and fun to make and here's how!


Grab yourself some yarn. White is the best for making little dandelion fuzzies, but yellow also works for billie balls.


Start by grasping the end of the string between your first two fingers and your thumb.


Begin to wrap the string around your fingers over and over.


Continue to wrap until you have about 1/2 thickness around your fingers.


Cut the end of the wrap and lay the wrapped string on top of a short piece of string, about 8 inches long.


Tie the two ends of the short string together over the top of the wrap.


Pull very, very tightly. Tie another knot to make sure everything's secure.


Trim the ends of the knotted string.


Use a scissors to cut around the wrapped string so that all the loops are separated.


It will probably be a little all over the place when you're done. That's why there's one more step!


Pinch the puff ball between your thumb and pointer finger...


...and use the scissors to trim all the way around the edges. This will even out everything and make your dandelion look pretty.


And there you go! A beautiful finished dandelion!

peace&love,
Jill

Saturday, December 22, 2012

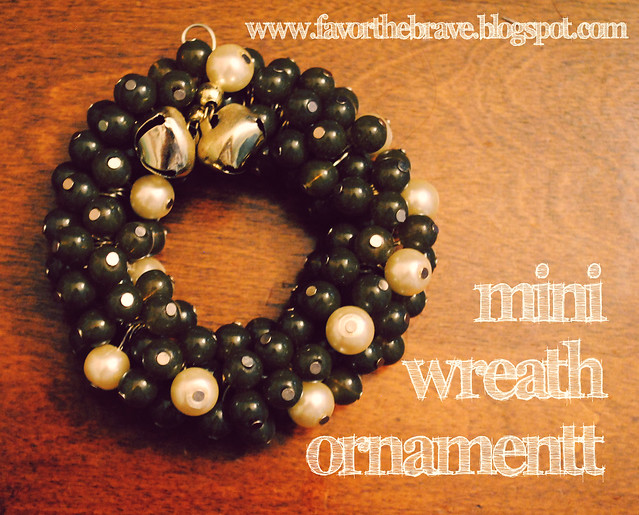
mini wreath ornament *tutorial*

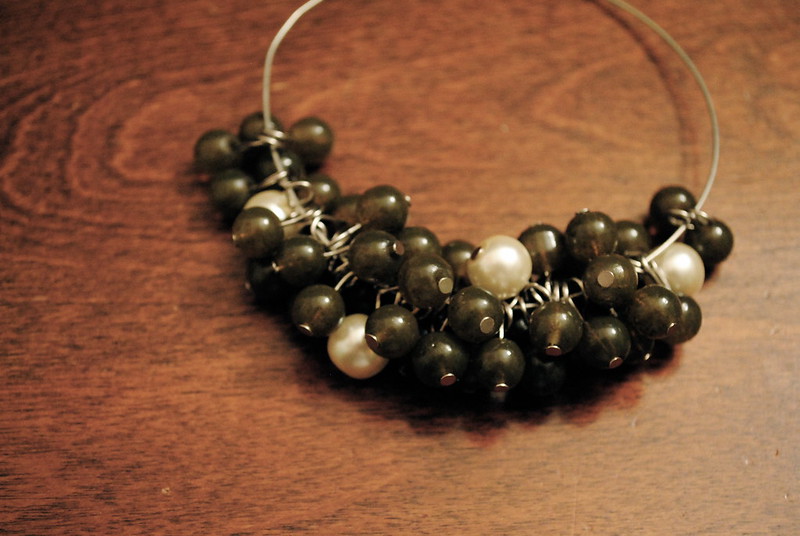
miniwreath

Christmas is just 2 days away and I know some people are probably still scrambling for some last minute gifts and decorations. Here's a fun and easy tutorial for an ornament that would make a great gift, package topper or hostess present!

As you can see, here I am using the awesome photo filter known as "late night artificial light," which goes great with the side of "shaky hands from tired-ness." Please forgive me.

Supplies:

green beads (or whatever color you want your wreath to be)
accent beads (I used glass pearls)
head pins (little bits of wire with a head on one end to keep beads from sliding off)
wire
pliers
wire cutters
bells (optional)
bow (optional)

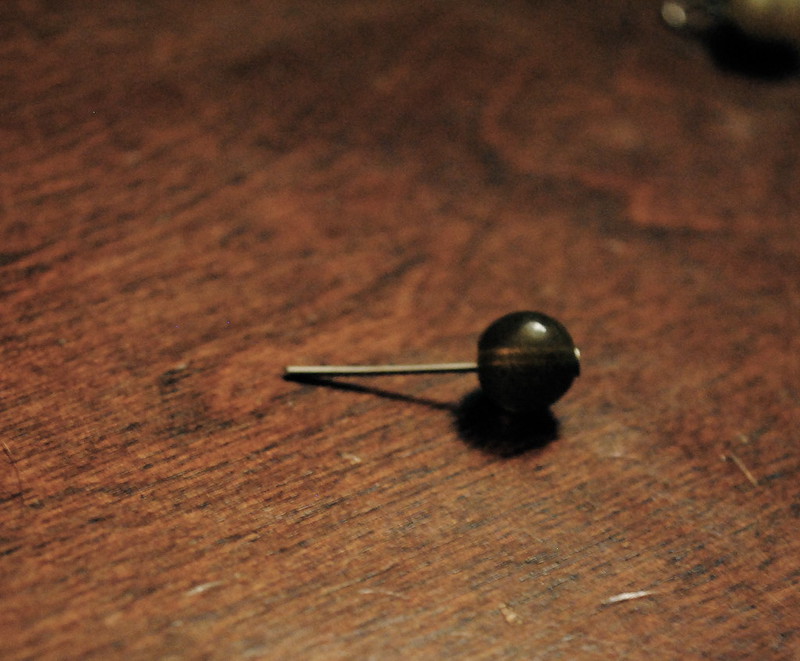
DSC_0031

Start by putting a bead on a headpin and make a loop at the top.

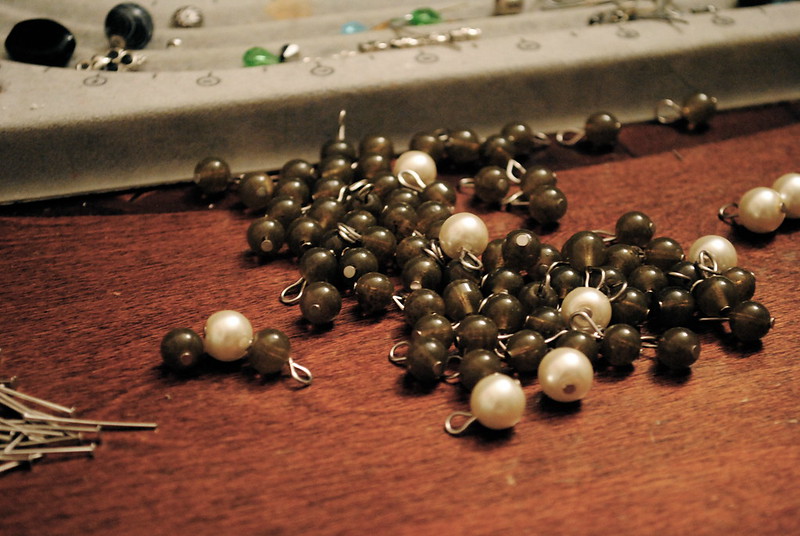
DSC_0033

Do this many more times. I used about 100 beaded headpins and about 11 of them were the pearls.

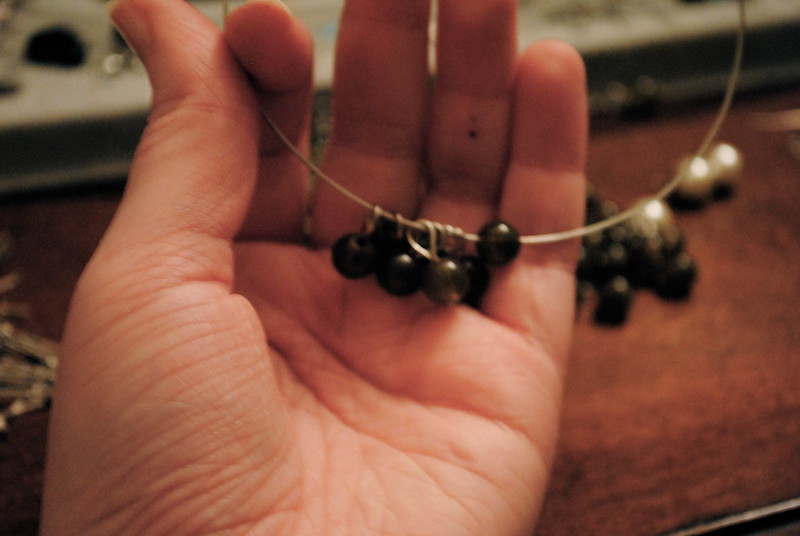
DSC_0038

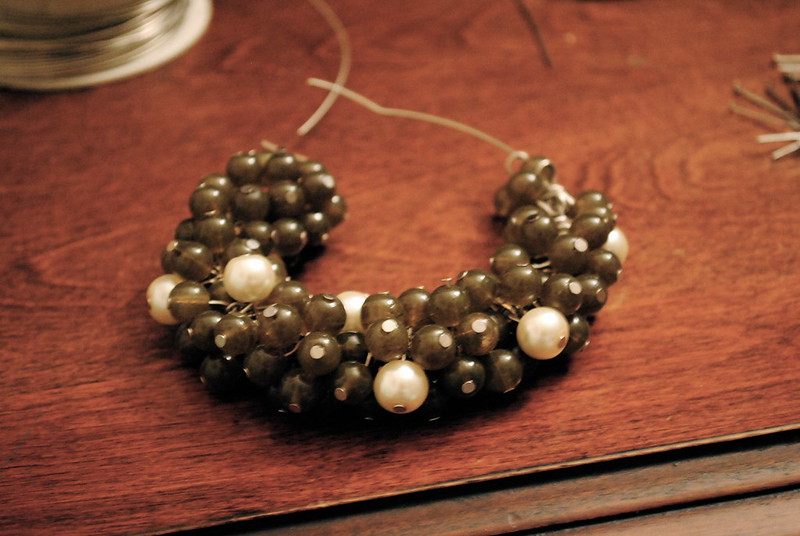
Cut a piece of wire 8-10 inches long. String one bead directly onto the wire and then follow it with several beaded headpins. I strung one bead directly on to the wire after every 8 headpins. Continue this pattern, or whatever pattern creates your desired fullness. It make take some trial and error to see what works best with your beads.

DSC_0029

Keep going!

DSC_0043

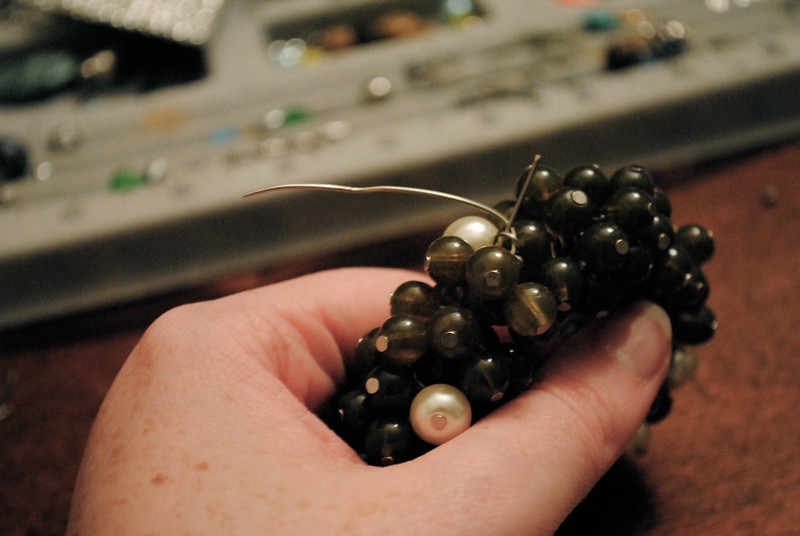
Once your wreath has the desired circumference, bring the two ends of the wire together...

DSC_0046

And twist them together like a twisty tie.Wrap one wire around the base of the twist to make it good and secure and cut off just that one wire.

DSC_0048

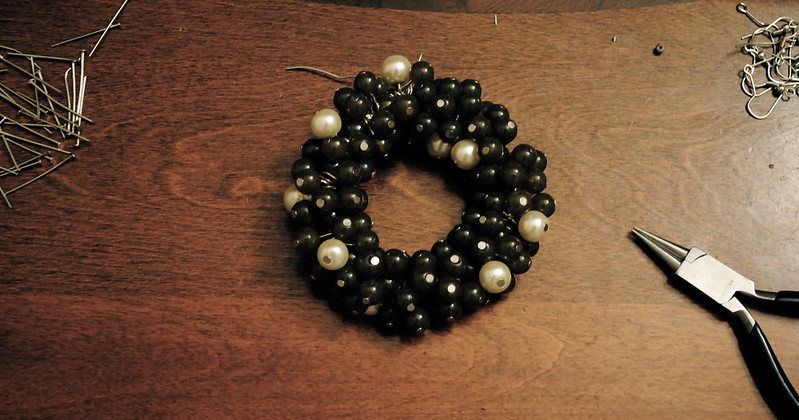
Like so.

DSC_0051

Make the remaining wire into a loop for you to string ribbon through or hang it from.

DSC_0054

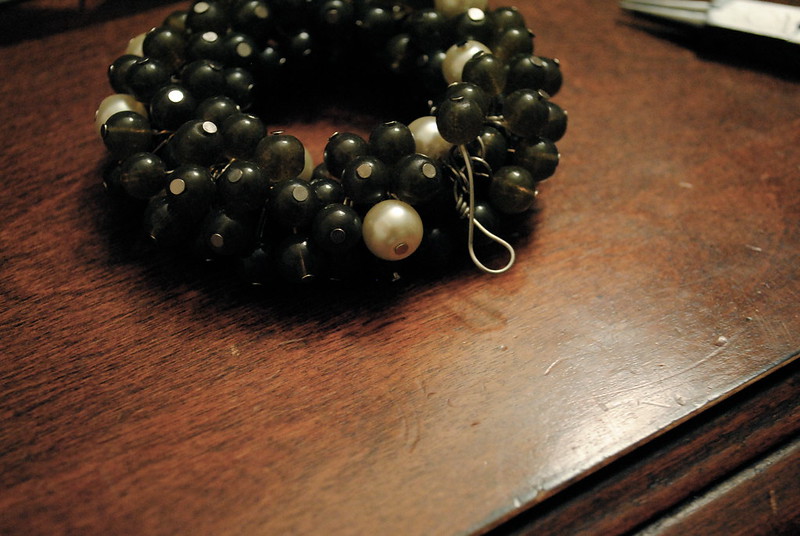
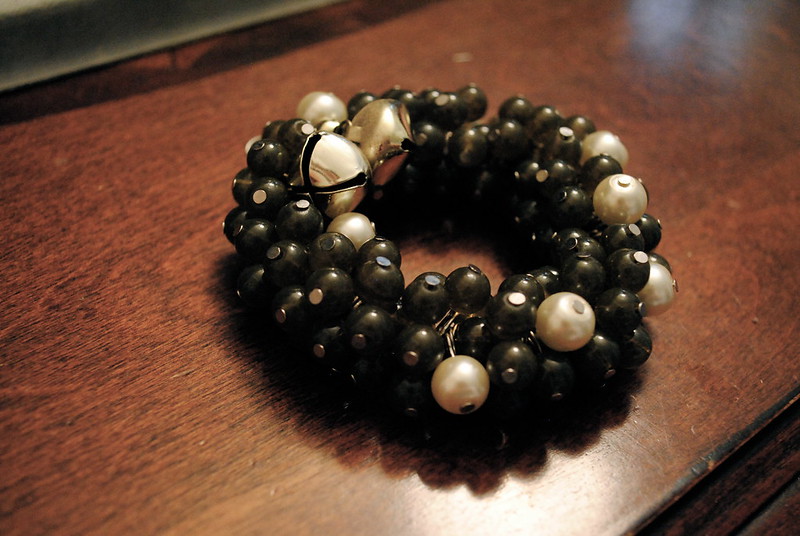
And there you go! I added some bells to embellish it but you can add a ribbon, bow, or whatever fits your decor! Happy Holidays!

peace&love,
Jill

Have you entered my giveaway? Well why the heck not!?
Enter here to win ad space and Favoring Brave jewelry!

Friday, December 14, 2012

as seen on TV - holly sprig *tutorial*

Screen shot 2012-12-14 at 7.53.08 AM
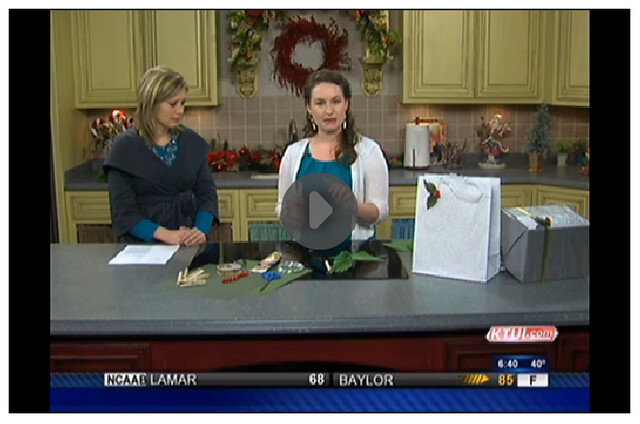
Yesterday morning I was on KTUL Tulsa to do a quick tutorial on making holly sprigs for holiday ornaments and gift toppers! Here's a link to the video! (The picture's a fake-out - click this link instead!)

peace&love,
Jill

Friday, November 2, 2012

craft-fair-ology: a grate idea

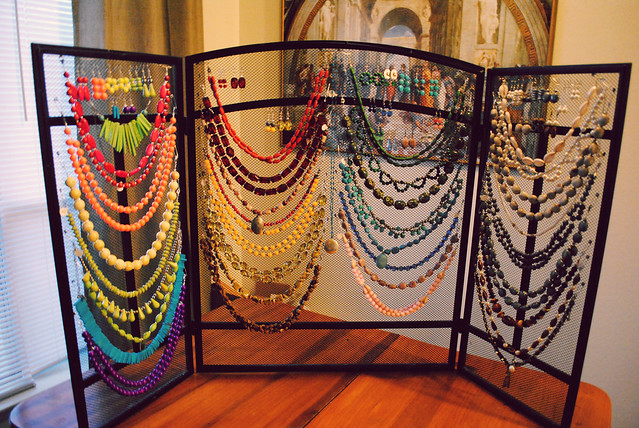
I am guest blogging today over at Make Tulsa, so I'd love for you to hop on over there and check out my post about converting an old fireplace grate into a jewelry display!

grate


In case you've missed them, here are some of my earlier tutorials for jewelry storage:
Creative Ways to Store Your Jewelry
A Vintage Suitcase Reboot
Musical Jewelry Box
Jewelry Frame *tutorial*
Brooch Organizer *tutorial*

And here's a guest post I did while interning for College Fashion:
4 Creative Ways to Store Your Jewelry at College

peace&love,
Jill

Tuesday, September 4, 2012

peter pan collar necklace *tutorial*


Alright, so you saw the teaser yesterday, now it's time for the real thing. You wanna get one of these on your neck? Two options: hop over to my store here and pick one up or make it yourself!

Here's what you need:
  • length of chain that fits close around your neck
  • beads of your choice, preferably something with some weight so the necklace hangs right
  • clasp
  • tiger tail beading wire
  • pliers
  • wire cutters
  • crimp beads


Star out by cutting and laying out your length of chain and adding a clasp to the end. 


Next, lay out your beads. I used ceramic beads in 10 and 12mm sizes and I used the bronze 3mm spacers in between each bead. You want your strung beads to be about 1.5x as long as your chain.


Next grab yourself some tiger tail a cut a piece about twice as long as your chain.

See the rest of the tutorial after the jump!

Thursday, August 16, 2012

brooch organizer *tutorial*


I have a lovely lot of vintage brooches from family members, flea markets, and vintage sales but I always forget to wear them. They are always holed away in my jewelry box, and usually I don't look beyond my earring basket and necklace frame to find my day's accessories. But that's all about to change now that I have made this sweet little brooch and pin organizer, and with this super easy tutorial, you can make one too!


All you need is some fabric, a large embroidery hoop, and a pair of scissors (& your brooches too!)


Start by loosening the screw that tightens the outside ring and positioning the outside (the bigger ring) underneath the piece of fabric, and placing the smaller ring on top, pushing down so that the little ring fits into the bigger one.


While holding the inner ring down with your fingers, pull on the fabric around the edges to tighten it.
Then flip the whole thing over and tighten the screw back down so that the rings are secure. Pull on the fabric around the edges again to get everything REALLY tight.


Once everything is tightened satisfactorily, flip the hoop back over and begin trimming around the edges.


Keep going until you get all the way around.


Your hoop is complete!


This is what it will look like when you're done.


Add your brooches!


Don't they all look pretty together?


To hang, all you need to do is put a simple nail in the wall and 
hang from the screw you use to tighten the frame!


Mine is living below my necklace frame in the bathroom.


Enjoy your easy way to see all your brooches!

peace&love,
Jill


The Girl Creative

Monday, August 6, 2012

infinite ways to wear an infinity dress {or at least twelve and a half}


I made my very own infinity dress last summer back when my hair was short and black 
{so a long time ago in style years} 
and I regret to say I haven't worn it very much.
But then I rediscovered it. 
And now, oh infinity dress, how I love thee.

So here is my ode to infinity dresses in photos. These styles are all made using my style of infinity dress which has a waistband that extends all the way up over the bust to make it bra friendly.


Here we go!


1. Strapless


2. One shouldered (wrapped from the front)


3. High V-neck 


4. Pinup style halter


5. Cap sleeve crossback


6. Twisted Y-front


7. Keyhole front


8. Keyhole front cap sleeve


9. Double Y tank


10. Cutout back one shoulder (wrapped from the side)


11. Cutout halter


12. Kimono style


12.5 - Push the sleeves up on the kimono style - instant tank!

Infinity dresses are so fun! Do you have one? How do you like to wear yours?


{my favorite way}

peace&love,
Jill

Related Posts Plugin for WordPress, Blogger...