
Christmas is just 2 days away and I know some people are probably still scrambling for some last minute gifts and decorations. Here's a fun and easy tutorial for an ornament that would make a great gift, package topper or hostess present!
As you can see, here I am using the awesome photo filter known as "late night artificial light," which goes great with the side of "shaky hands from tired-ness." Please forgive me.
Supplies:
green beads (or whatever color you want your wreath to be)
accent beads (I used glass pearls)
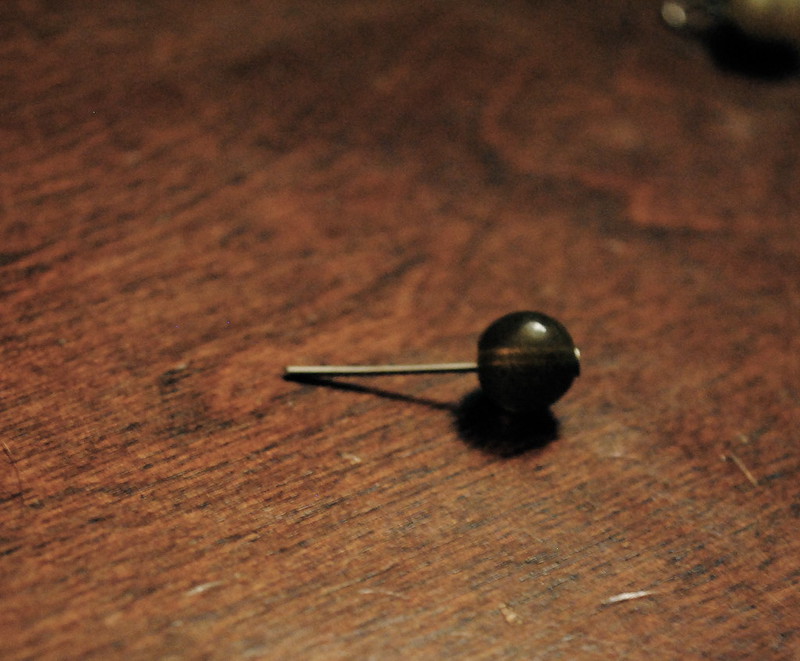
head pins (little bits of wire with a head on one end to keep beads from sliding off)
wire
pliers
wire cutters
bells (optional)
bow (optional)
Start by putting a bead on a headpin and make a loop at the top.
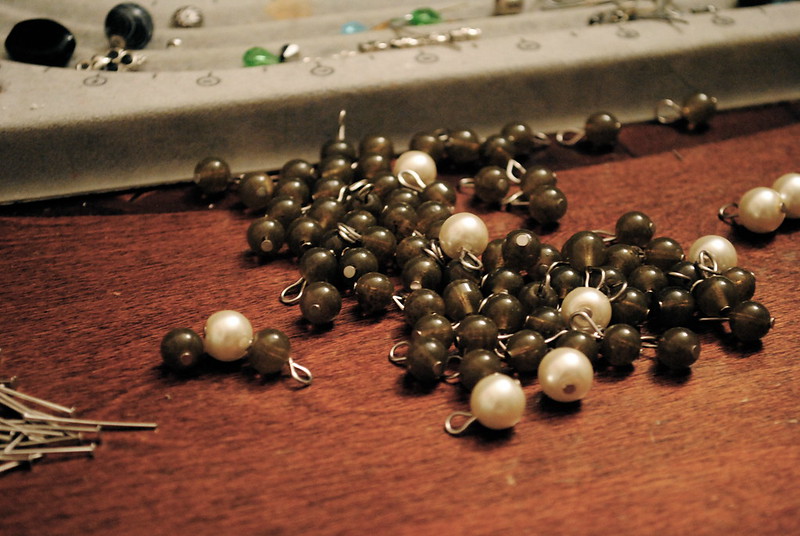
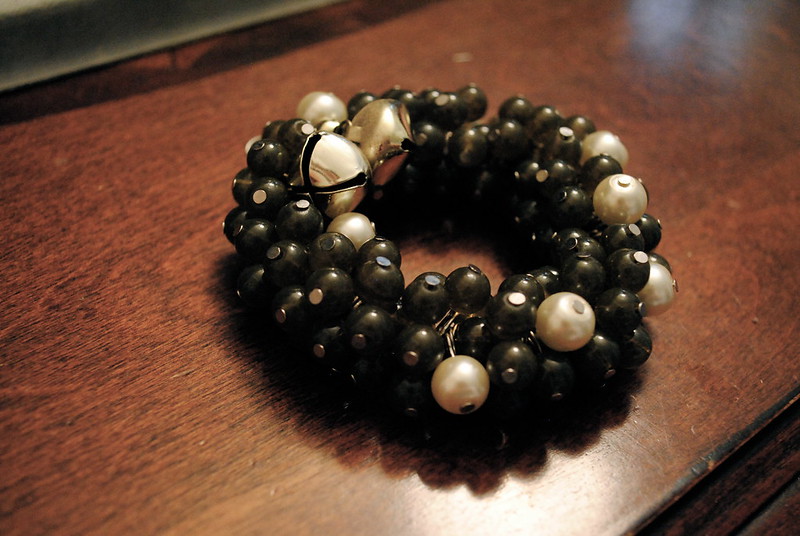
Do this many more times. I used about 100 beaded headpins and about 11 of them were the pearls.
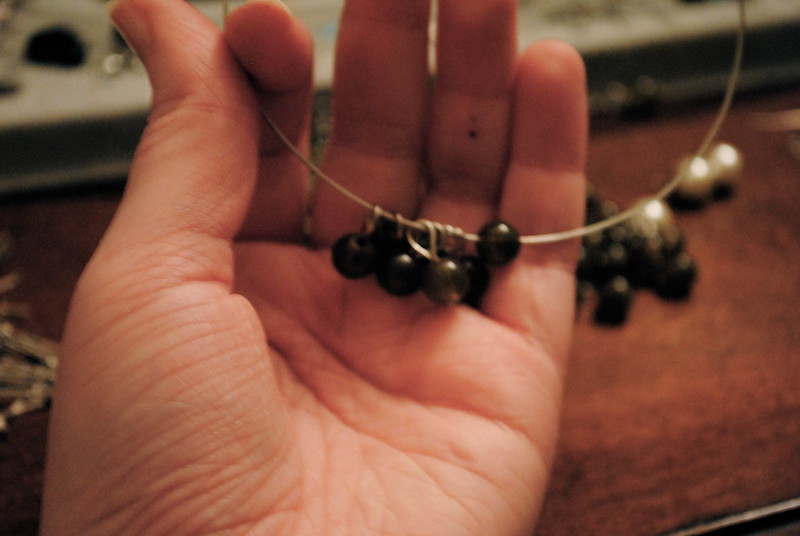
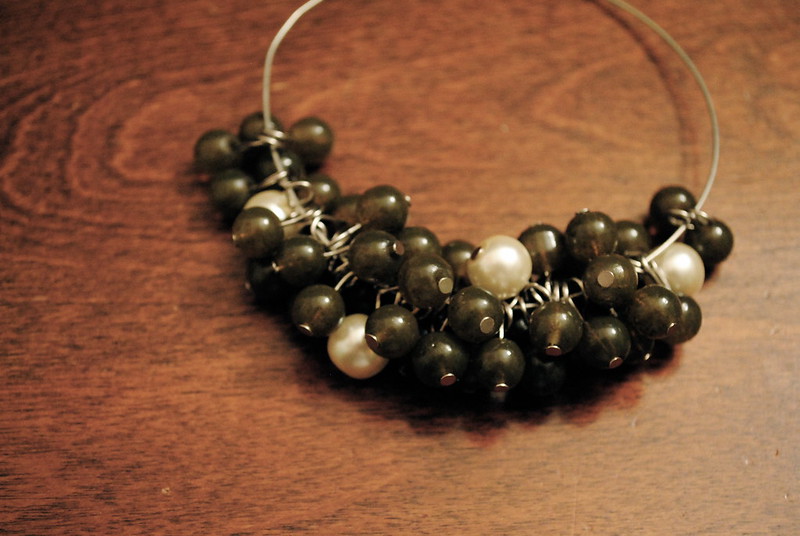
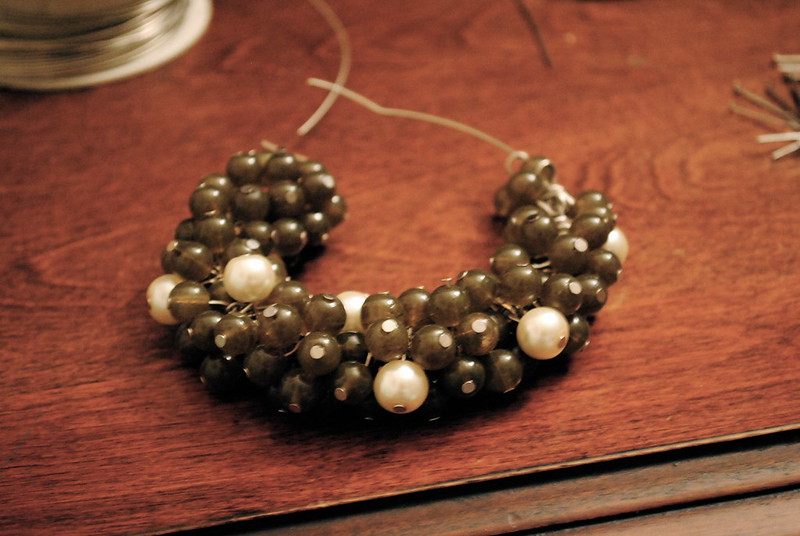
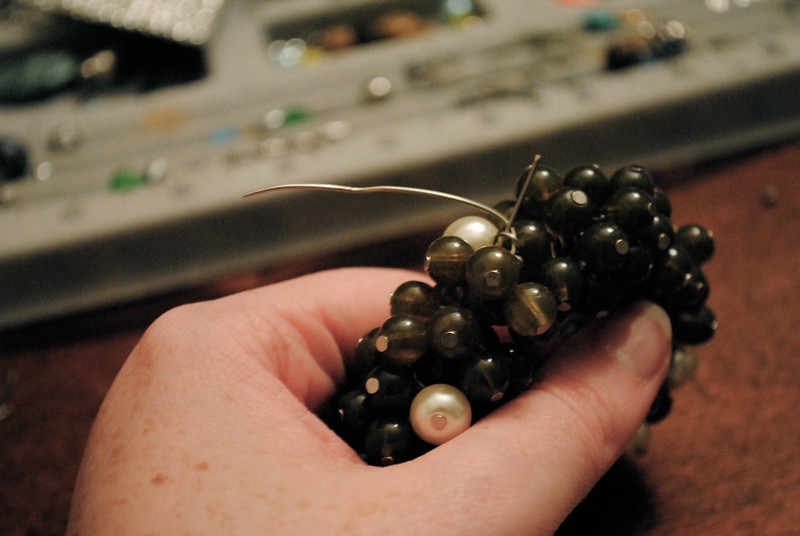
Cut a piece of wire 8-10 inches long. String one bead directly onto the wire and then follow it with several beaded headpins. I strung one bead directly on to the wire after every 8 headpins. Continue this pattern, or whatever pattern creates your desired fullness. It make take some trial and error to see what works best with your beads.
Keep going!
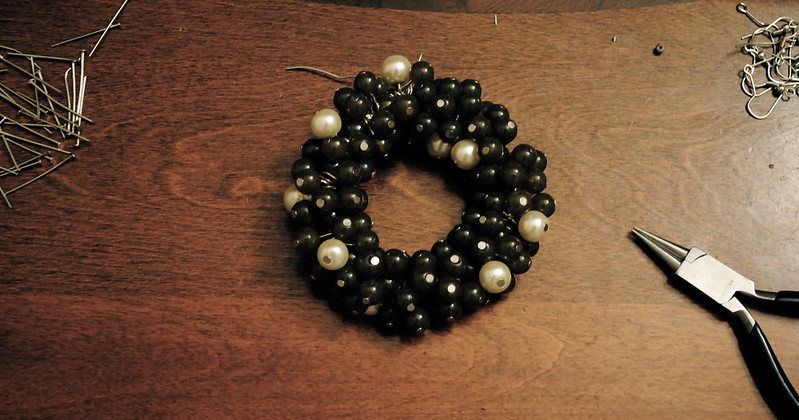
Once your wreath has the desired circumference, bring the two ends of the wire together...
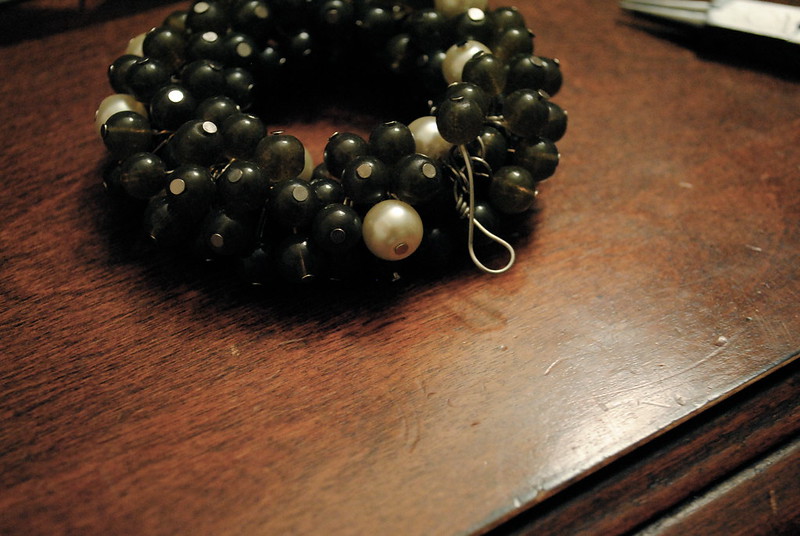
And twist them together like a twisty tie.Wrap one wire around the base of the twist to make it good and secure and cut off just that one wire.
Like so.
Make the remaining wire into a loop for you to string ribbon through or hang it from.
And there you go! I added some bells to embellish it but you can add a ribbon, bow, or whatever fits your decor! Happy Holidays!
peace&love,
Jill
Have you entered my giveaway? Well why the heck not!?
Enter here to win ad space and Favoring Brave jewelry!


Look how simple that looks, besides eye pinning all those beads. You did a great job its so cute. Where are ya going to put it? I can't believe it's only 2 days before Christmas!! I'm wishing you and your family a Merry Christmas!
ReplyDeleteXOXO
Nikki
www.TheCraftySideOfSarcasm.com