Showing posts with label jewelry. Show all posts

Monday, December 10, 2012

deluxe recap

DSC_0057

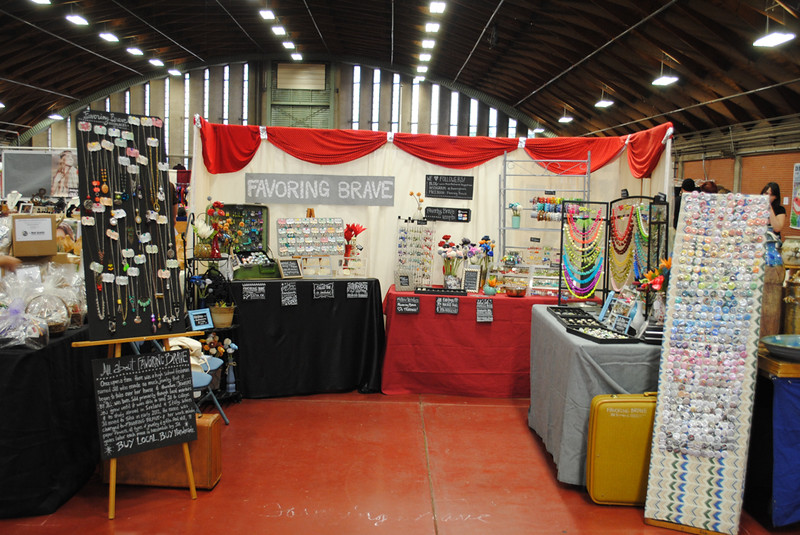
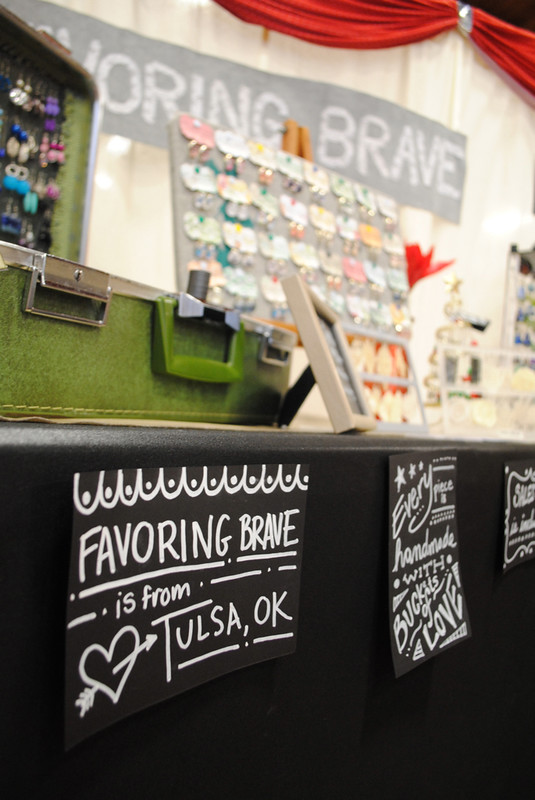
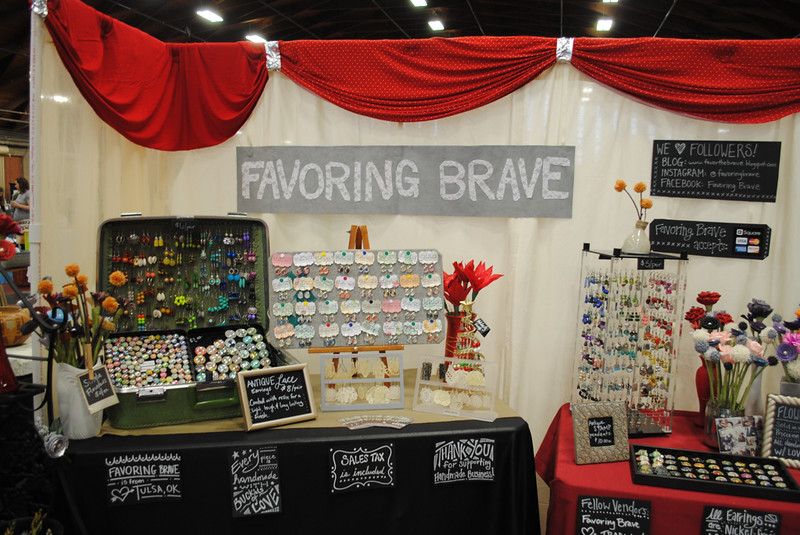
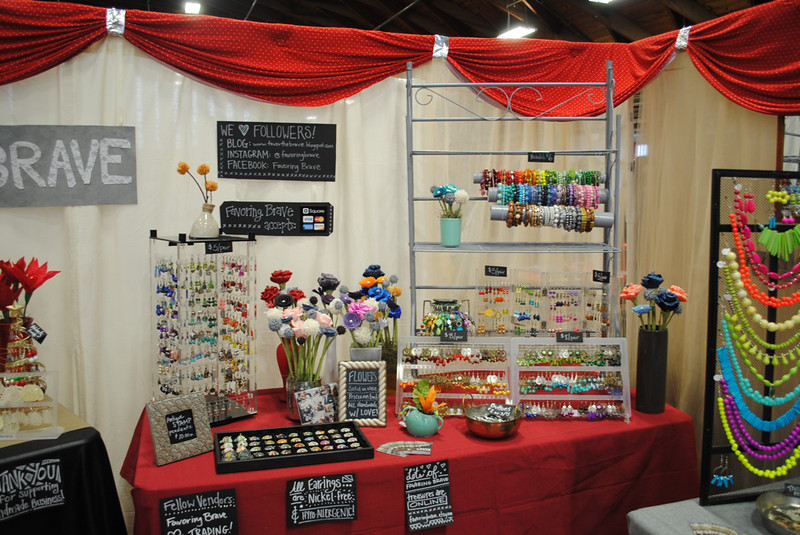
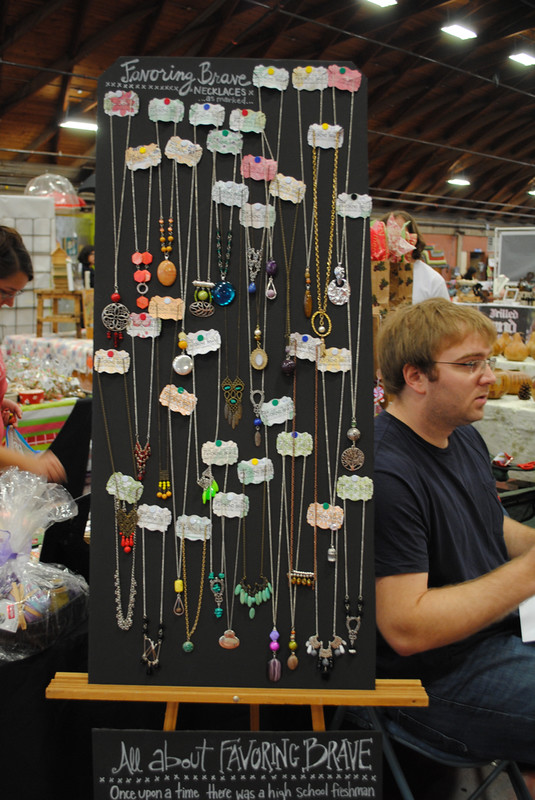
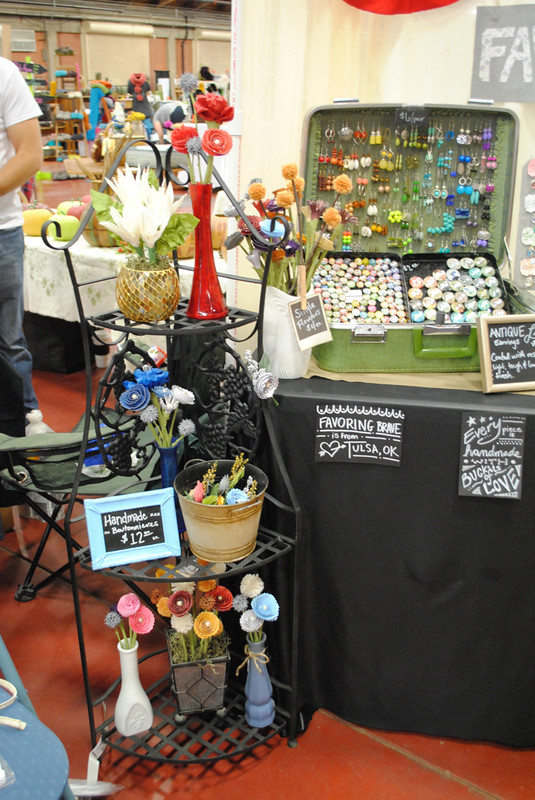
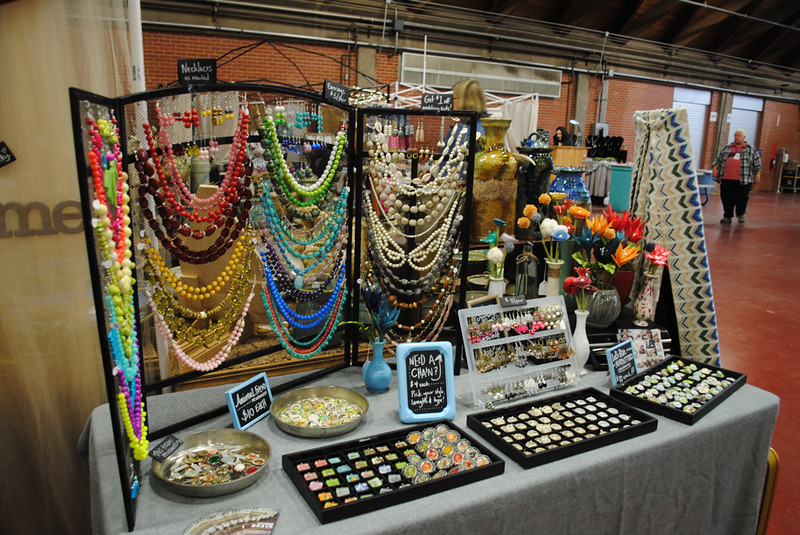
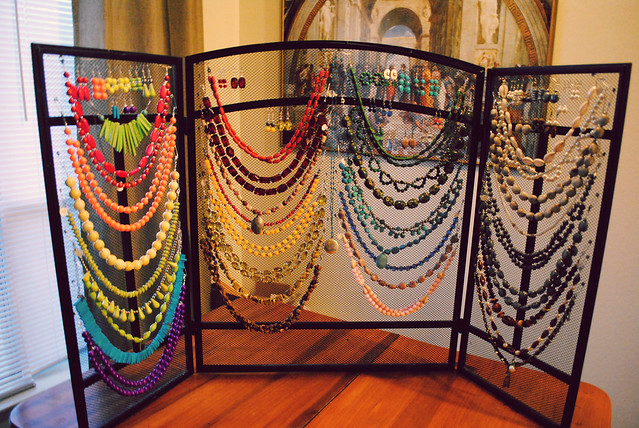
I had a blast at Deluxe Indie Craft Bazaar this last weekend in Oklahoma City. There were some awesome booths there, great shoppers, and even a break-dancing competition! Love it! Here are some quick snaps of my booth, which has been taking up every last moment of my time for the last couple weeks. I'm happy with how it turned out! I'll be talking about making some pieces I used in this display on upcoming Craft Fair-ology posts.

DSC_0067

DSC_0063

DSC_0062

DSC_0068

DSC_0061

DSC_0060

DSC_0073

DSC_0065

peace&love,
Jill

Friday, November 2, 2012

craft-fair-ology: a grate idea

I am guest blogging today over at Make Tulsa, so I'd love for you to hop on over there and check out my post about converting an old fireplace grate into a jewelry display!

grate


In case you've missed them, here are some of my earlier tutorials for jewelry storage:
Creative Ways to Store Your Jewelry
A Vintage Suitcase Reboot
Musical Jewelry Box
Jewelry Frame *tutorial*
Brooch Organizer *tutorial*

And here's a guest post I did while interning for College Fashion:
4 Creative Ways to Store Your Jewelry at College

peace&love,
Jill

Monday, October 8, 2012

the designer


I always feel a little bit pretentious when I'm selling jewelry and call myself "The Designer." I mean, I do design the jewelry, but somehow that title has come to sound so much more intense and romantic than I think it really is. So for what it's worth, I designed this necklace. But wearing it happened to be even more fun. If you're loving this necklace, be sure to hop over to the Etsy and snag one like it! There's only a few more available so you better hurry!

And on a completely different note, yay for sweaters. Yay for cold weather! So happy it's finally here!


peace&love,
Jill


Thursday, September 6, 2012

no reason at all


A big hello to all my new followers! So glad to have you along for the ride!

Do you ever feel like getting dressed up for no reason? I do. All the time. 
So yesterday I wore blue silk and pearls to make dinner and run errands. 
1950s, anyone?

Clothes: thrifted, top from Loft, necklace by Favoring Brave on Etsy


I'm strongly considering making a tutorial for this necklace, so keep your eyes peeled.


peace&love,
Jill

Tuesday, September 4, 2012

peter pan collar necklace *tutorial*


Alright, so you saw the teaser yesterday, now it's time for the real thing. You wanna get one of these on your neck? Two options: hop over to my store here and pick one up or make it yourself!

Here's what you need:
  • length of chain that fits close around your neck
  • beads of your choice, preferably something with some weight so the necklace hangs right
  • clasp
  • tiger tail beading wire
  • pliers
  • wire cutters
  • crimp beads


Star out by cutting and laying out your length of chain and adding a clasp to the end. 


Next, lay out your beads. I used ceramic beads in 10 and 12mm sizes and I used the bronze 3mm spacers in between each bead. You want your strung beads to be about 1.5x as long as your chain.


Next grab yourself some tiger tail a cut a piece about twice as long as your chain.

See the rest of the tutorial after the jump!

Monday, September 3, 2012

just like peter pan


I have been seeing collars everywhere lately and so I decided to embrace it and make my own so that, voila, any thing can have a cute collar. This is my classic blank slate dress so it was a natural choice to show off the handiwork. 

And guess what? I'm going to show you how to make it right here on my blog tomorrow! 
Be sure to check back!


peace&love,
Jill

Friday, August 31, 2012

ms. jill

Clothes: all thrifted, necklace: Favoring Brave

It's so interesting to be in this new role as teacher to young students. They enliven me, they continuously surprise me, but most of all they inspire me with what they are asking to know and understand. But it's still a little foreign to be in a position like this, even if it's just the fact that I have a bunch of sweet little girls calling me Ms. Jill. 

It's also interesting to try and figure out what to wear to teach. I know that I'm going to be teaching some movement and I want them to be able to see my motions and be comfortable, but I also want to be myself. This is one of those outfits that seemed to do that pretty well.


And since I'm teaching acting I'm working on being dramatic...


... and graceful for musical theater....


And whaddya think of my new necklace? It hits my Etsy later today so be on the lookout for it!

peace&love,
Jill

Tuesday, August 28, 2012

case of the teals


I have been craving pants. Never thought I'd say that. Between the heat and everything else, it's been a solid 3 months since I could wear pants regularly and I have to say, I miss them. So on Sunday, heat be scorned, I wore pants. 


And a collar necklace I made myself.... Coming soon to my Etsy!


peace&love,
Jill


Saturday, August 25, 2012

tulsa loves etsy


I had so much fun at the Etsy craft party last night at Made, a Tulsa store for area artists. I am so excited to be a new member of the Make: Tulsa community and it was great to meet fellow Etsians.


And, of course, I remembered to take outfit photos, but I didn't remember to take on solitary picture at the party, not even on Instagram. Bad blogger. I am planning on linking up to all my fellow Make: Tulsa members, though, so stay tuned for that.


Hope you're having a good weekend!

peace&love,
Jill

Thursday, August 16, 2012

brooch organizer *tutorial*


I have a lovely lot of vintage brooches from family members, flea markets, and vintage sales but I always forget to wear them. They are always holed away in my jewelry box, and usually I don't look beyond my earring basket and necklace frame to find my day's accessories. But that's all about to change now that I have made this sweet little brooch and pin organizer, and with this super easy tutorial, you can make one too!


All you need is some fabric, a large embroidery hoop, and a pair of scissors (& your brooches too!)


Start by loosening the screw that tightens the outside ring and positioning the outside (the bigger ring) underneath the piece of fabric, and placing the smaller ring on top, pushing down so that the little ring fits into the bigger one.


While holding the inner ring down with your fingers, pull on the fabric around the edges to tighten it.
Then flip the whole thing over and tighten the screw back down so that the rings are secure. Pull on the fabric around the edges again to get everything REALLY tight.


Once everything is tightened satisfactorily, flip the hoop back over and begin trimming around the edges.


Keep going until you get all the way around.


Your hoop is complete!


This is what it will look like when you're done.


Add your brooches!


Don't they all look pretty together?


To hang, all you need to do is put a simple nail in the wall and 
hang from the screw you use to tighten the frame!


Mine is living below my necklace frame in the bathroom.


Enjoy your easy way to see all your brooches!

peace&love,
Jill


The Girl Creative

Related Posts Plugin for WordPress, Blogger...