Showing posts with label back to school crafts. Show all posts

Sunday, August 21, 2011

Back to School Crafts: Button Thumbtacks


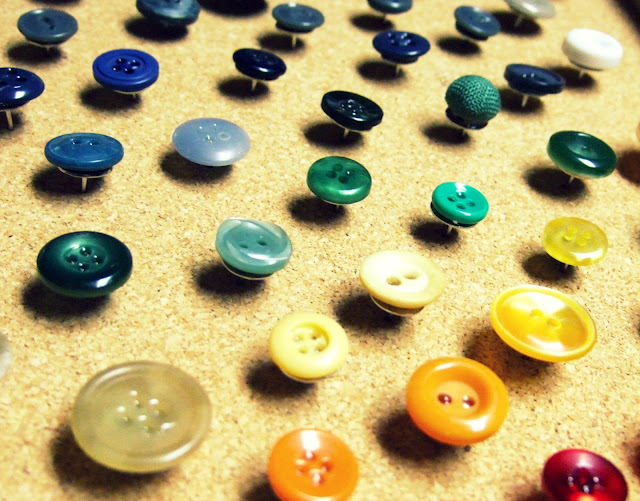
Aren't these just darling? I had so many buttons that were cute, but not quite cute enough to be ring material and so they became these sweet little button thumbtacks!

And here's the tutorial:

Buttons + E6000 Glue + Thumbtack = Button Thumbtack.

Please leave a comment if you're interested in more detail than that.
(In all seriousness, please comment. I will not judge you, I promise, and I would be happy to answer any questions you might have.) 
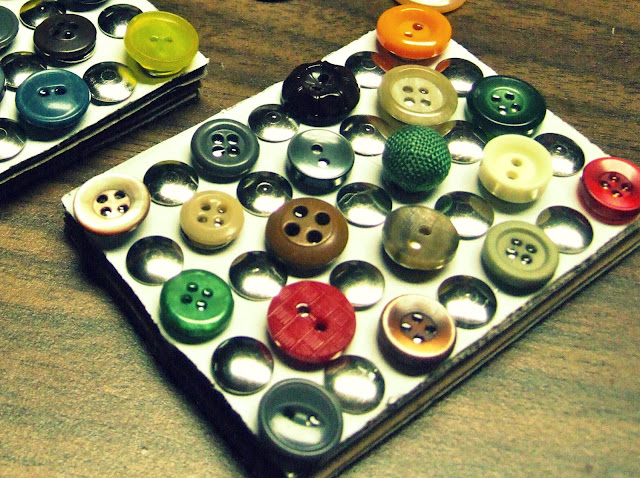

I found that it was easiest to push the thumbtacks into something (I used the cardboard they came in, but a cork board would work too) while I glued the button on to the top so that the glue didn't seep through the button holes, but after that glue started to set up I took the tacks out of the board and laid them button side down so that they would fully dry straight.


And that's it! Enjoy!
peace&love,
Jill

Wednesday, August 10, 2011

Back to School Crafts: Magnetic Pencil Holder Tutorial


I don't think any thrift store in America can be complete without one of these cups. It looks harmless enough and then... wait for it...


So snarky. I love it.

But this particular cup caught my eye for another reason. How perfect would this be, I thought, to hold pens and pencils on the refrigerator so I can find them when I need them? Very perfect.

So here's what I started with:


Mod Podge
Scissors
Paintbrush (for applying the Mod Podge)
Scrapbooking paper
Sheet music
Buttons
Mug
Banner (from a scrapbooking set)
Not Pictured: magnets and E6000 glue to affix the magnets, gold paint

I started by cutting the scrapbooking paper into strips to mod podge onto the mug.


Then I began mod podging the strips onto the mug, applying the glue to the mug and then also paint over the strips. I cut the bottom of the strips that wrapped over the curve of the cup about every 1/3 inch so that they would wrap around the mug more smoothly. I did the same thing around the handle, carefully cutting the paper often to wrap around the curve.


Then I added the music and quote on top with more Mod Podge.


After all that dried I used the E6000 to glue on the buttons, and after that dried I glued the magnets on the back.


I found this configuration to be the most stable.

After everything dried I used the gold paint to add some embellishments and paint the top rim of the mug to disguise the seam between the scrapbooking paper and the mug and give it a finished look.


Ta-da! Super love. 
You could easily adapt this tutorial to use a regular mug as a pencil holder for your desk as well, especially if your thift store is out of its yearly allotment of snarky mugs. 

If you make it, I want to see it!

peace&love,
Jill


Related Posts Plugin for WordPress, Blogger...